Dairy whipped cream has a delicious taste, and you can use it in many recipes and desserts. However, you can’t have it if you follow a dairy-free vegan diet. Therefore, we have come up with this guide that contains a step-by-step process to make your own vegan whipped cream at home and use it in different vegan desserts.
Like regular whipped cream, making your own vegan whipped cream is a simple and easy process. The recipe requires essential ingredients, and you can complete the entire process within minutes.
How To Make Vegan Whipped Cream: Recipe Guide
The recipe explained below will allow you to make delicious, smooth, creamy, fluffy, dairy-free, and full of flavor vegan whipped cream. It uses canned coconut milk instead of heavy whipping cream. It’s perfect for all your vegan and dairy-free desserts.
Ingredients
You’ll need the following ingredients to complete this vegan whipped cream recipe.
Coconut Cream
Using canned coconut cream is the easiest way to make vegan whipped cream. While you can also use coconut milk for the same purpose, we recommend using full-fat coconut cream because it has lower water content.
Sweetener
There are different ingredients, such as maple syrup or powdered sugar, that you can use as a sweetener. Both of those options dissolve in the cream quickly. You can also use vanilla extract to improve the flavor of your vegan whipped cream.
Quantities of Ingredients
- Unsweetened canned coconut cream: 400 milliliters (about 14 ounces)
- Powdered sugar: 2 tablespoons
Optional Ingredients
- Maple syrup: 1 teaspoon
- Vanilla extract: 1 teaspoon
Supplies
- Large mixing bowl
- Stand or hand mixer
Steps to Follow
The prep time for this recipe is just 3 to 5 minutes, not including the chilling of the coconut cream, which is essential to achieve the best results. Follow these instructions carefully to make delicious dairy-free whipped cream.
- First, gather all the ingredients and supplies. Then place the canned coconut cream in your fridge overnight. Make sure that you put it in the coldest part of your fridge for at least 4 hours.
- Once your canned coconut cream is chilled properly, remove it from the fridge. Make sure that you pick it up carefully and gently to avoid shaking.
- Carefully open the refrigerated cream can. You’ll see that the coconut cream has hardened and risen to the top of it’s thoroughly chilled. The hardness of your coconut cream will vary depending upon the brand. The harder the cream, the better the results.
- Grab your chilled mixing bowl and carefully scoop out only the cream part. Make sure that you leave the watery content of the can behind. You should see a fair bit of the watery content.
- Add powdered sugar to the cream immediately. You can also add vanilla extract or maple syrup, depending on your preferences.
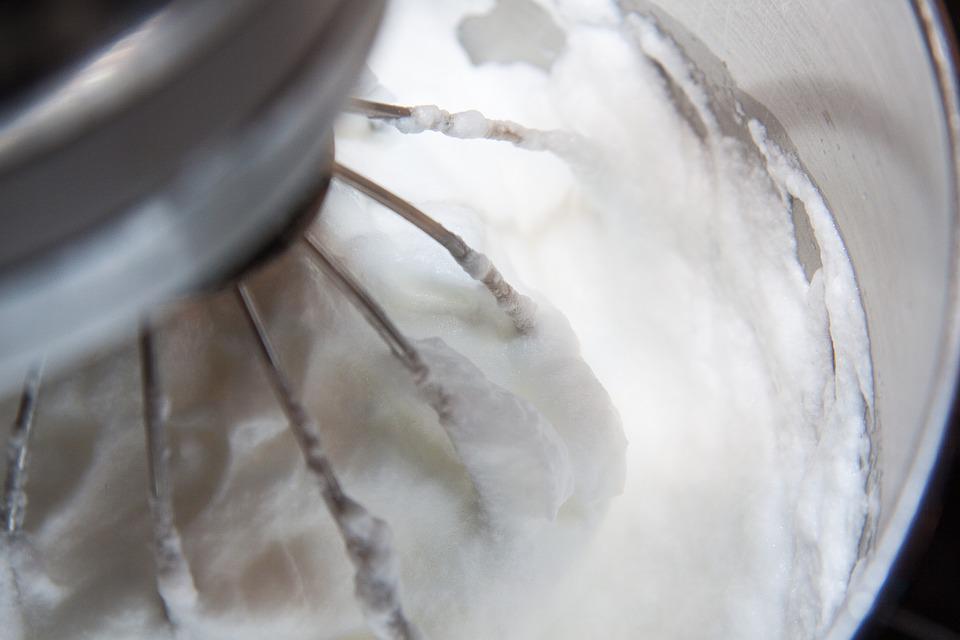
- Mix the ingredients gently and transfer the mixture to your hand or stand mixer.
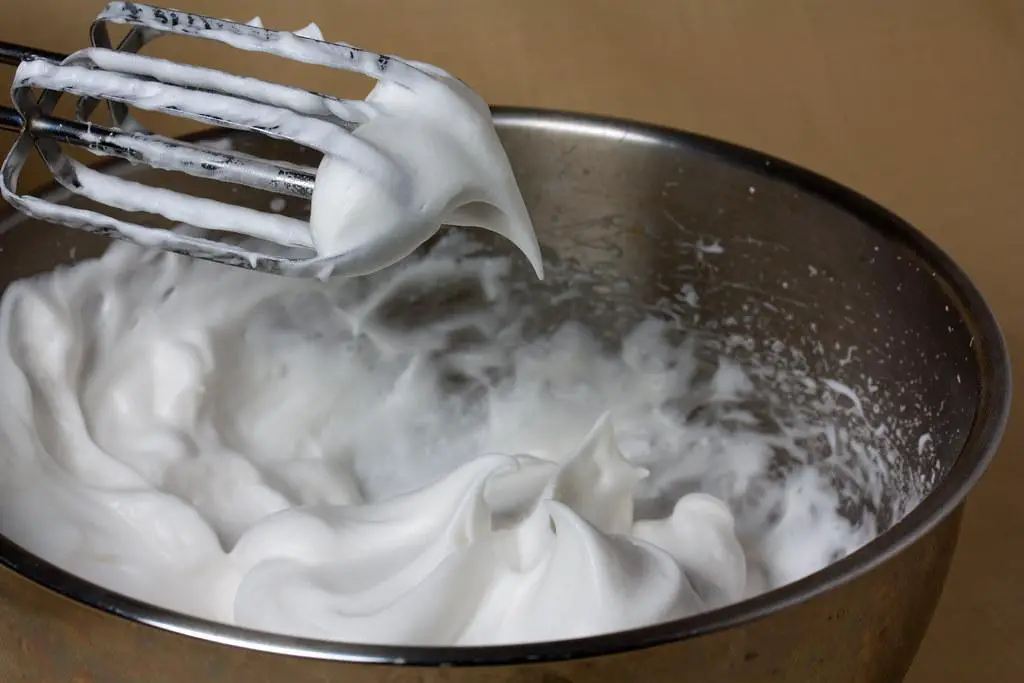
- Turn the stand mixer on and start blending the mixture at medium speed and then reach high speed gradually until stiff peaks form. You’ll have thick and fluffy coconut whipped cream consistency within a minute.
- Remove the coconut whipped cream from the stand mixer and serve immediately in any dessert you want.
Tips To Keep In Mind While Making Coconut Whipped Cream
- We recommend using full-fat canned coconut cream to make fluffy, smooth, and creamy whipped cream. Otherwise, it won’t froth or thicken up as desired.
- Buy high-quality ingredients from reputable brands because cheaper products will generate poor results. In addition, don’t use coconut cream that comes in a carton, as it won’t work for this recipe at all. You can experiment with different brands to find the one that suits you best.
- Place the canned coconut cream in your refrigerator overnight. Make sure that you don’t place it in the freezer. You aim to have chilled, not frozen, coconut cream. It’ll be too soft to whip if your coconut cream is not chilled.
- If, after chilling, the coconut cream is too hard, let it sit on your kitchen countertop for a couple of minutes, or add a teaspoon of watery content from the can. Otherwise, it’ll have a thicker consistency than standard whipped cream.
- Ensure that all the ingredients, your beater, and mixing bowl are completely chilled beforehand. It’ll allow you to create thick and stiff peaks.
- Use the coconut whipped cream immediately if you’re not planning to store it.
Frequently Asked Questions
How Is Coconut Milk Whipped Cream Stored?
Use an airtight container to store your whipped coconut cream in the refrigerator. It’ll stay fresh for up to a week. While you can also freeze vegan whipped cream, we won’t recommend you do that because it’ll lose its consistency once you place it on your kitchen countertop to thaw.
Can You Add Vegan Cream Cheese to Coconut Whipped Cream for More Volume?
If you like the tanginess of the cheese, you can use vegan cream cheese with coconut whipped cream for more volume. You can also use xanthan gum if your whipped cream is not thickening well. Make sure you don’t use more than ¼ teaspoon of either of these ingredients for the best results.
How Is Vegan-Friendly Coconut Whipped Cream Served?
The fluffy vegan whipped cream that you make using coconut cream can be served with a range of desserts such as vegan-friendly waffles, brownies, hot chocolate, pumpkin pie, scones, strawberry cakes, and many more. In addition, you can also use it to make vegan ice cream if you wish.
Final Words
As you can see, making vegan-friendly whipped cream is not a difficult task. The recipe that we have outlined also requires a couple of simple ingredients that you can buy from any superstore. Make sure that you follow the instructions and tips for this recipe carefully to achieve the best results.